
Creating an Email Template in NetSuite
NetSuite is the #1 cloud-ERP platform and offers a variety of configurable email templates to users. I went into a little bit of detail on this in another blog titled “Tips for Creating a Marketing Campaign in NetSuite“.
Depending on your role, there are a few ways to create NetSuite Email Templates:
- Go to Documents > Templates > Email Templates > New or for users with Marketing Roles, navigate to or Campaigns > Marketing > Marketing Templates > New (other options also)
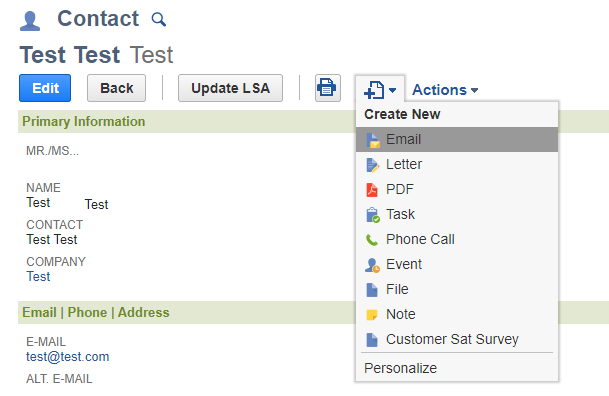
- You could also click on Create New and select Email from a Customer or Contact Record.
- This will allow you to email any recipient in your database directly:
-
- From here, you would click on the Message tab and then select a pre-built template from the drop-down menu or create a new one by clicking the + symbol.
-
- This will skip you ahead to the section below, “Composing the Email”
Marketing Email Templates
If you have a Marketing role, the Campaigns > Marketing > Marketing Templates choice will redirect you to a new page where you will have the expanded options to choose a Campaign or Online Form template as shown below:

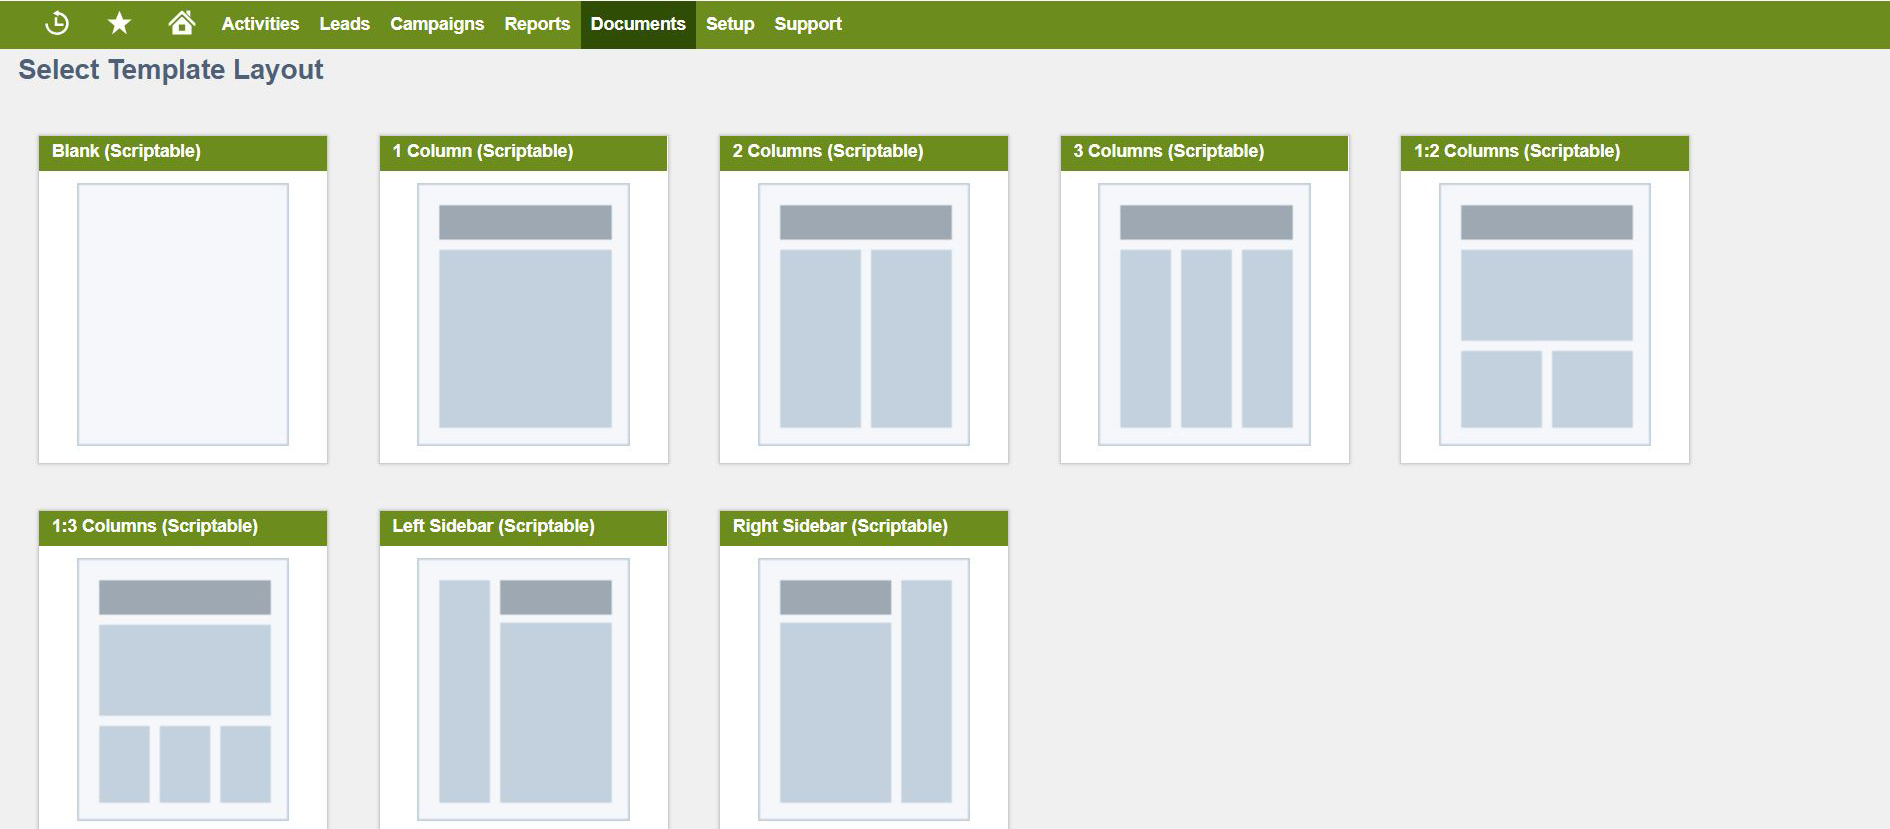
Choosing the Campaign Type option will give you a variety of different template styles. The first option, Blank (Scriptable), is the same selection given if you navigated to the templates from the Documents tab or opened a New Email from a Customer or Contact Record for non-marketing users.
Composing the Email
Once you’ve navigated to the Email Template record screen or have selected what type of template you’d like to start with, you’re ready to begin your customized email template.
- Give the template a name in the Name field that reflects the content, purpose, or campaign it’s being utilized for.
- Type in a Subject Line for the email in the Subject field.
- If you’re using this template for a campaign, you can come back and change the Subject Line for future emails as much as you’d like.
- Click the drop-down menu under the File radio button and upload an HTML file (if you have one prepared).
- Alternatively, the Text Editor option is selected by default for starting an email from scratch.
- Click Div to enable HTML text recognition and paste the source HTML code into the text box (again, if you have it prepared)
- There are a lot of formatting options here to work with that you might typically see in an email client, as well as Microsoft Word, such as bolding, italicizing, underlining text, and much, much more.
- Load any images, pictures, or HTML graphics you want to be displayed into your file cabinet or another web server.
- The graphics are usually loaded into the Images folder.
- The Available Offline box should be checked.
- Use the external URL (with https://system.netsuite.com /core …..) in the document.

Formatting
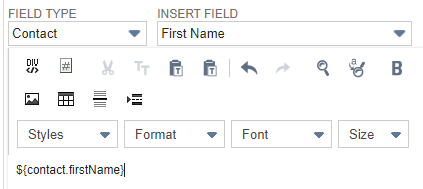
- You can use CRM tags in the body of the email to pull in info from your NetSuite account.
Choosing a Field Type option such as Contact and then an Insert Field option like First Name will pull in the name of your customer or prospect into the email:
Now you can create and customize the remaining body of the email to format the look and feel of what you’re sending out. You can make it fairly minimal or add a lot of formatting depending on the message, tone, and audience.
Next:
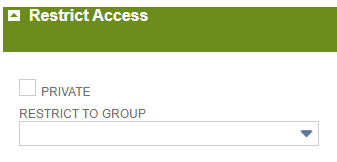
- The Restrict Access tab allows you to mark the Template Private and restrict it to just yourself, or make it available to a specified group of users.
Finally:
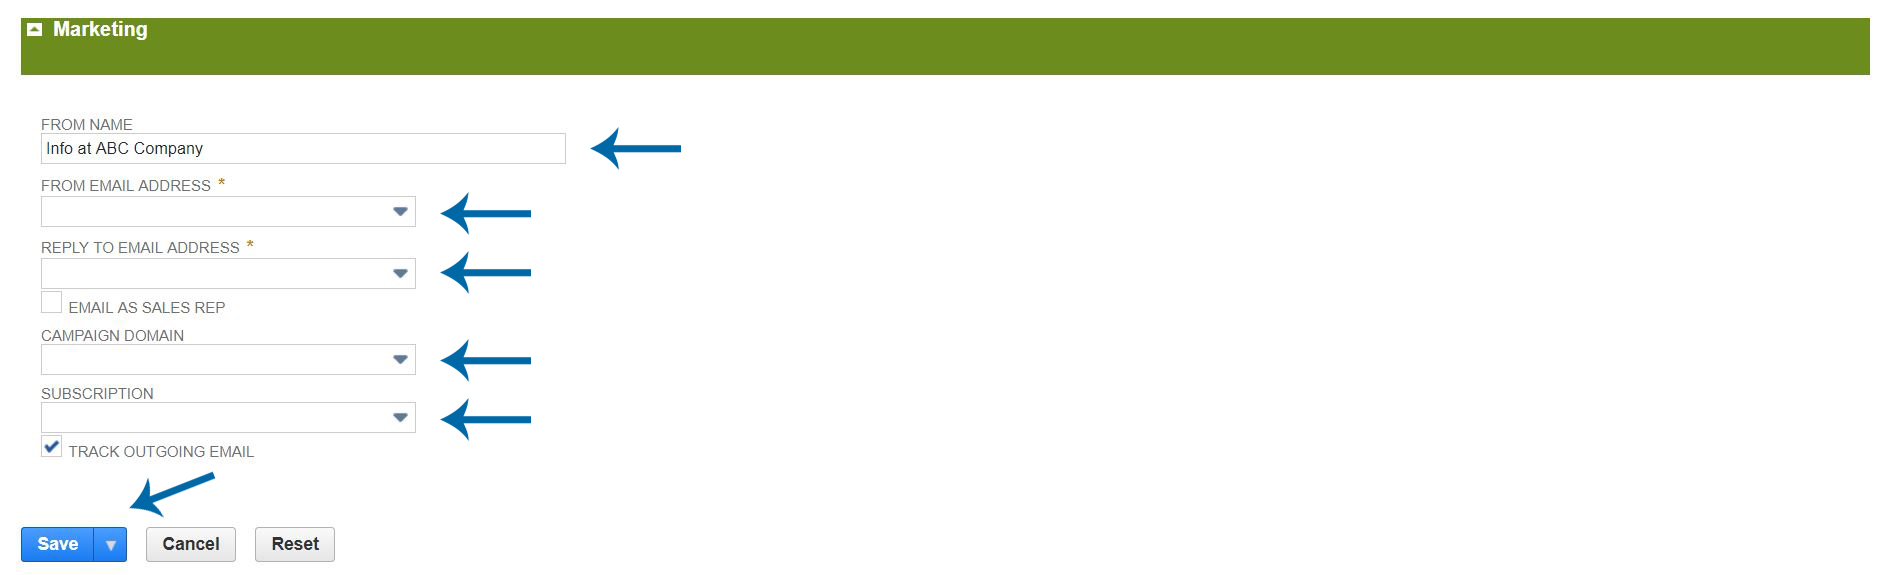
If you have a Marketing Role, specify:
- the From Name for the email address
- the From Email Address used for the campaign
- the Reply-To Email address replies will go to
- the Campaign Domain
- and any other variables from the Marketing tab (if accessible).
- Choose a Subscription if you’d like, such as Marketing or Newsletters. You can also configure this option later during the campaign email setup.
- Click the box for Track Outgoing Email.
If you don’t have a Marketing Role, you don’t need to worry about a few of these options.
- If you have access, you can add additional From Email Addresses under the Setup > Sales & Marketing Automation > Campaign Email Addresses > New
- You may need to coordinate with your IT department to set up the Campaign Domain or From Email Addresses.
Last but not least:
- Select Save to save the template.
- Afterward, the template will appear to use for future emails and can be edited or revised depending on your needs.
For more information on NetSuite Email Templates, or for a Free Consultation, contact Keystone today!
![]()
Keystone. Your NetSuite solution provider and integration partner.
Call – 866-546-7227 | Email – info@keystonebusinessservices.net


