
NetSuite supports being able to import a Credit Memo and apply it to a Sales Invoice in the process. This is very straight-forward as it is exactly like Importing a Credit Memo without applying it, with the exception of two additional fields to populate and include in the import mapping. The key for the Apply to work is to populate two fields in the template: Apply Applied and Apply Payment. Payment is the amount being applied. Applied is the Internal ID for the Sales Invoice the Credit is being applied to.
This can be helpful in situations where a large volume of credits are processed and it is desired to bypass default functionality and have NetSuite apply the full open amount, and instead dictate how much to apply to each invoice.
Below is a step-by-step description of how to correctly build and populate an import source file. And how to correctly build the field mapping in the CSV Import itself and execute it.
Assumptions:
- This example assumes the Department and Location are required fields for a Credit Memo.
- This example assumes one currency, US Dollars.
- Item Price Levels are used in this environment.
- No Tax Code required on Credit Memo Line
Step 1: Build Template
Create an Excel spreadsheet with the following columns/fields:
- External ID
- Credit #
- Customer
- Date
- Department
- Location
- Currency
- Exchange
- To Be Printed
- To Be E-Mailed
- To Be Faxed
- Item
- Quantity
- Price Level
- Rate
- Sale Amount
- Apply_Applied
- Apply_Payment
- Save it as an Excel Workbook
Note: Cells can be General format.
Step 2: Populate Template
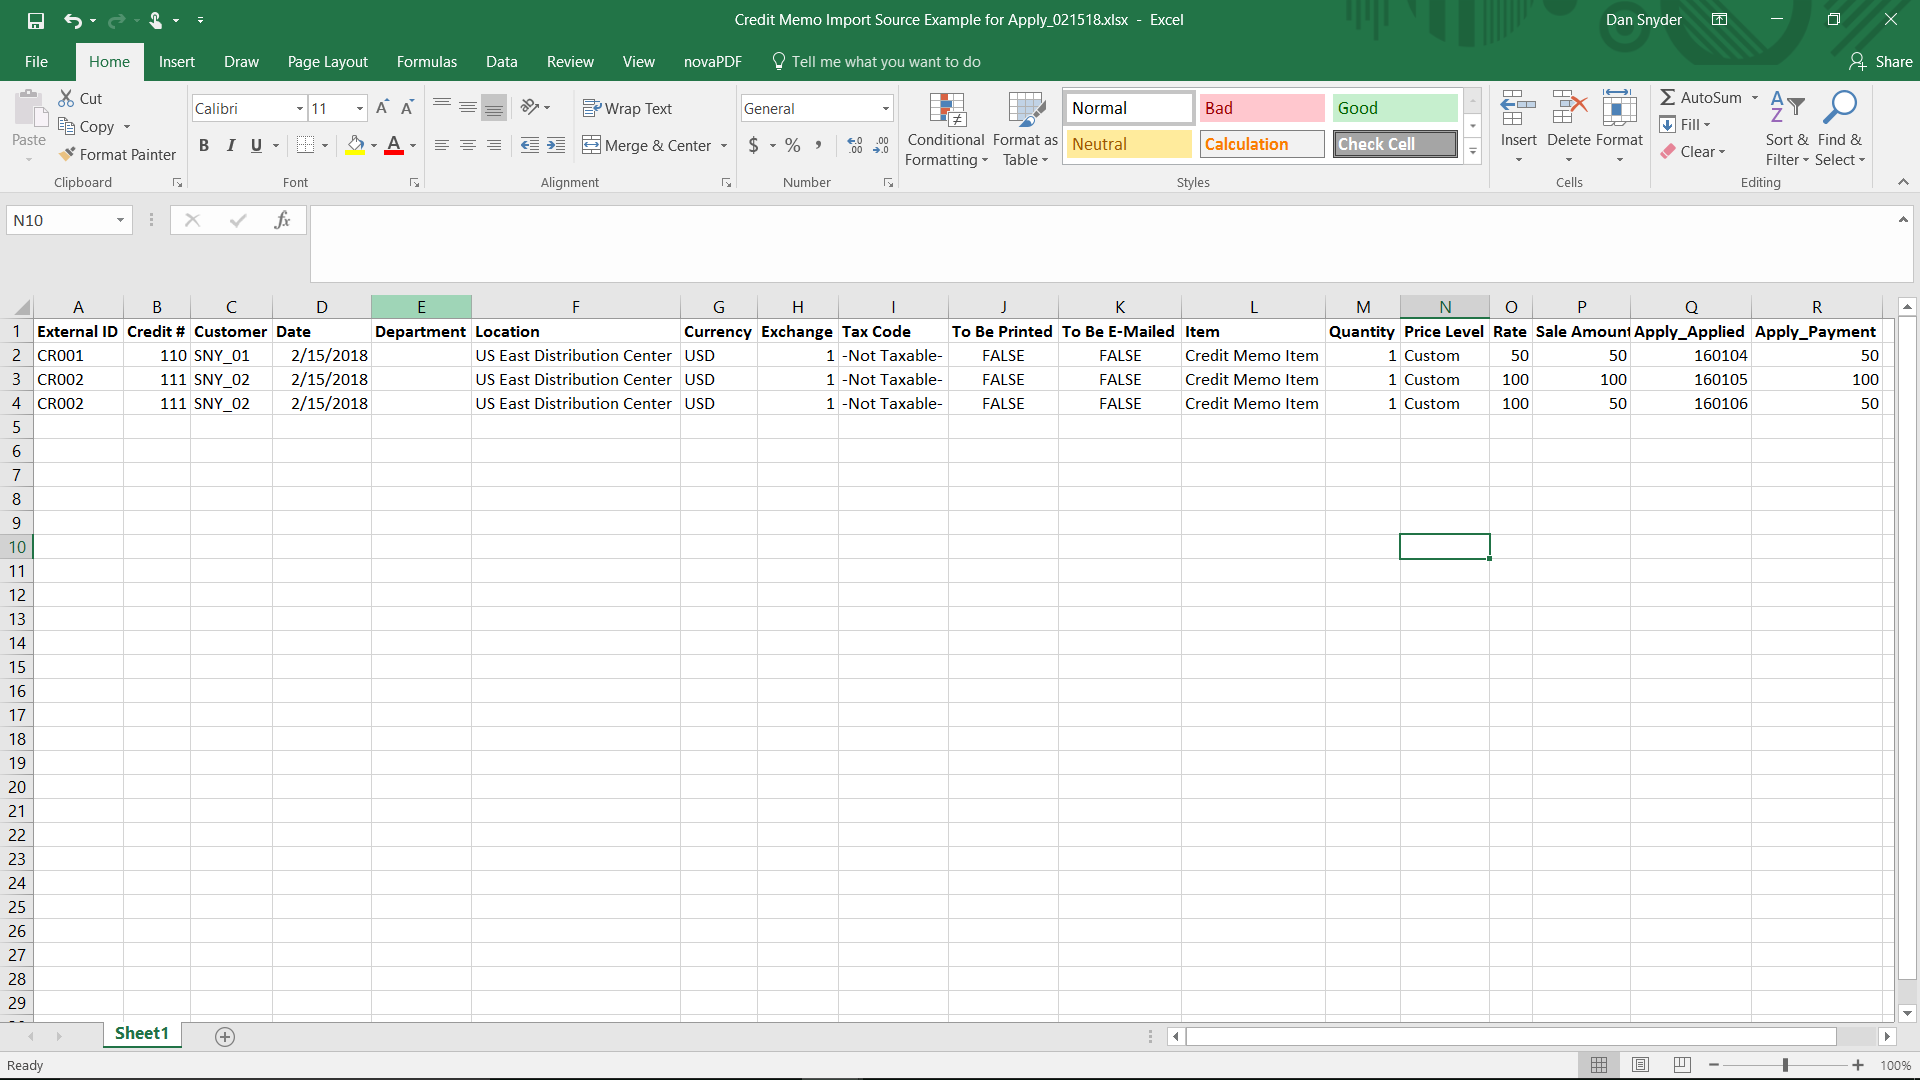
Populate the cells in the following manner. This example is creating 2 Credit Memos being fully Applied. One for $50 being applied to one Invoice. The other is being applied to two invoices, therefore it will have two rows. This second Credit Memo is for $150, we are applying $100 one Invoice and $50 to another. The spreadsheet will be saved first as an Excel Workbook. Then it will be saved again as a .csv file. The .csv file is what the import will use as the source file. Following is a detailed description of how to populate the Excel Template, also known as the Import Source File.
External ID: this field is needed in the template. Its purpose is to define the individual Credit Memos to create. That is how NetSuite knows which lines belong to a given transaction. This value can be numeric or alpha-numeric. Every line or group of lines per desired credit memo must have a unique external ID.
For example, the desired result of the Import is to create two Credit Memos. Credit Memo A is for $50 and being applied to one Invoice. This invoice will be assigned External ID CR001. Credit Memo B will be for $150 with $100 being applied to one invoice and $50 being applied to another. There will be two rows for Credit Memo B in the Import source file. The two rows for Credit Memo B’s External ID = CR002. Both Credit Memos being created are being Fully Applied, so the amounts in the Sales Amount column and the Apply_Payment column in the Import Source file will match.
Credit #: NetSuite will assign the Credit Memo # based on the next number available. However, this field needs to be included in the template and populated, even if Auto Numbering is On. In this Example Auto Numbering is On, Allow Override is On, and the number we provide in the source file will be the Credit Memo #.
Customer: Must match exactly how NetSuite stores the name. This rule applies to all fields.
Date: Use the desired Date for the Credit Memo transaction.
Posting Period: Use the desired Fiscal Period for GL Impact.
Department and Location: Assign as desired/required by System Configuration.
Currency: Use USD for all rows
Exchange: Must = 1 for all rows
To Be Printed/E-Mailed: Set these to TRUE (checked) or FALSE (unchecked) as desired.
Item: This is the item typically used on Credit Memos. This example uses a Discount Item.
Quantity: Can be 1 for all rows since this is a Credit Memo being created.
Price Level: In this example price levels are in Use. Custom is used to define the dollar amount.
Rate: This is the unit sale amount.
Sale Amount.: This is the extended sale amount, which will equal Rate since we are dealing with a quantity of 1.
Apply_Applied: This the NetSuite Internal ID for the Invoice that the credit line is being applied to. The Internal ID can be found in a List View or the URL when viewing the transaction itself. Note: It may be necessary to turn “On” the “Show Internal ID” option in Personal Preferences.
Apply_Payment: This is the amount being applied. These can certainly be less than the Sale Amount, and that will leave the Credit Memo Open instead of Fully Applied. Apply_Payment however cannot exceed what is in the Sale Amount Field.
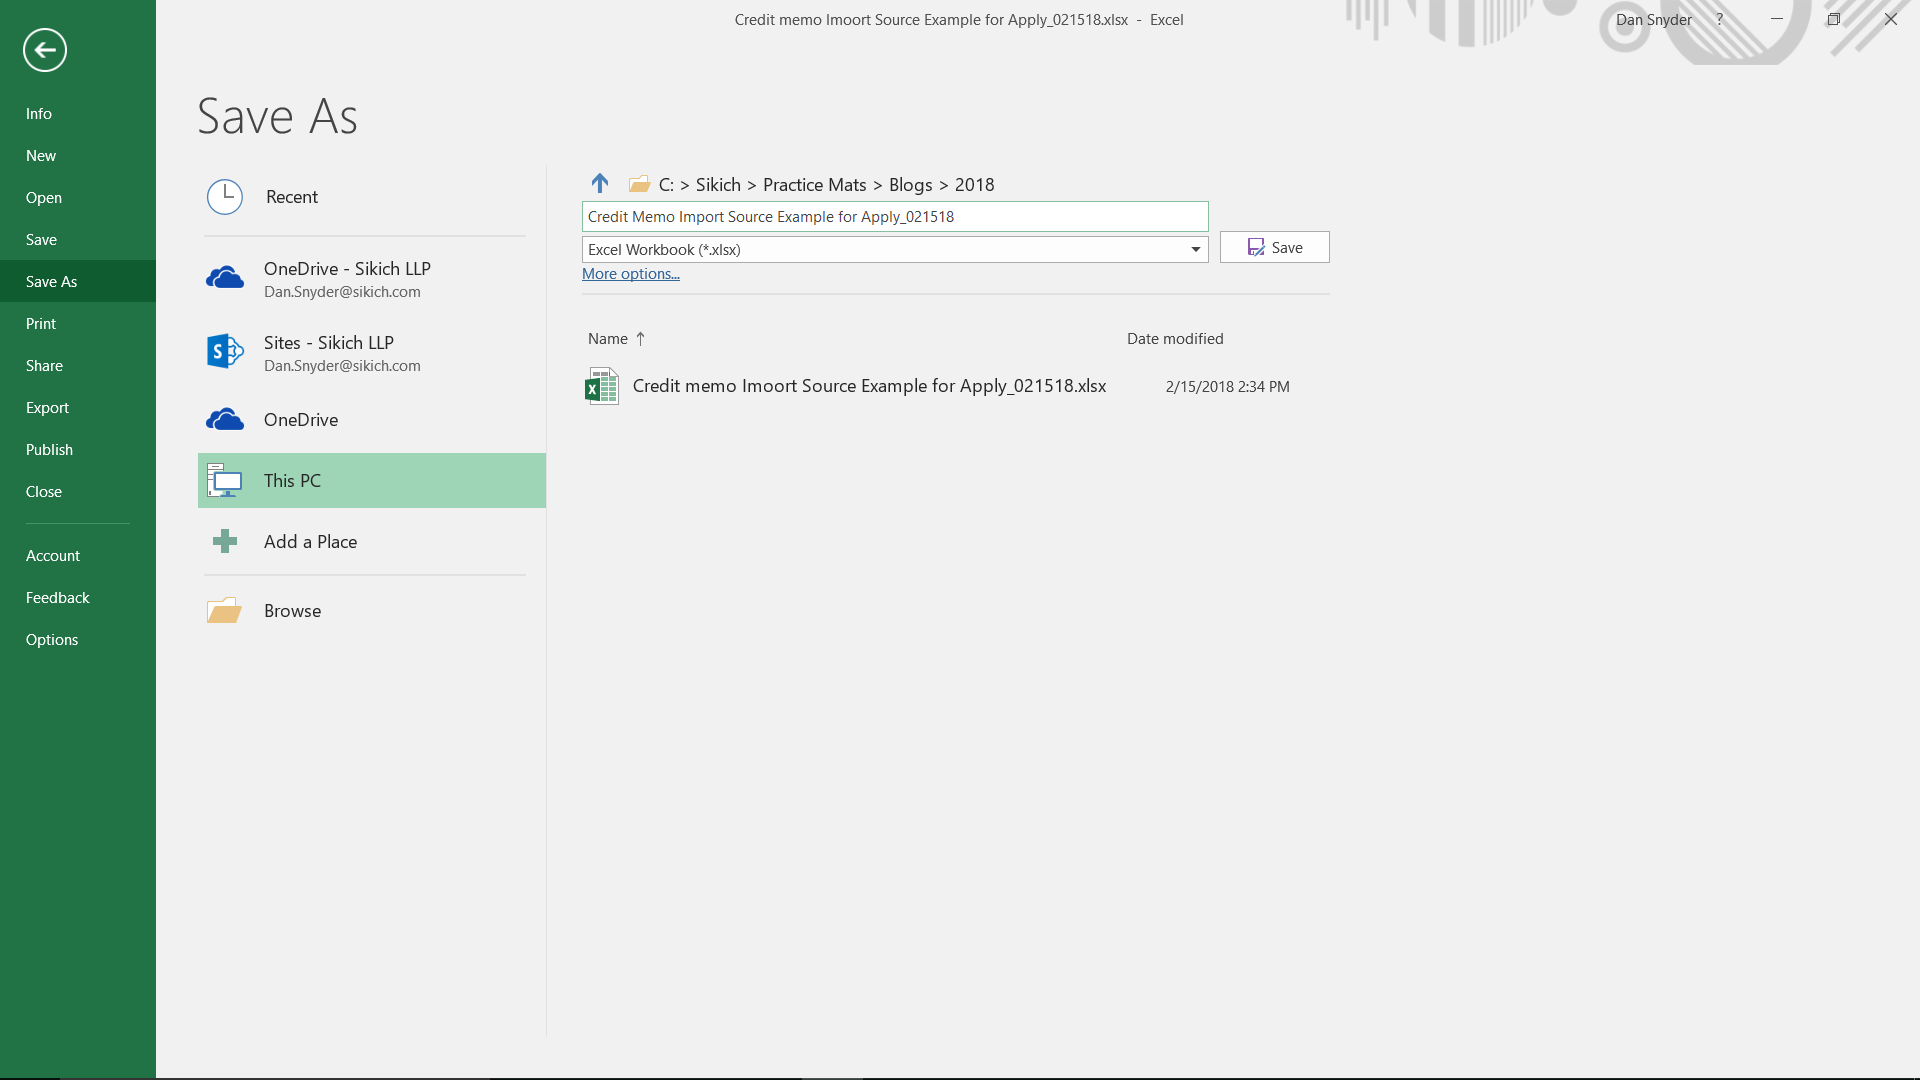
Save as an Excel Workbook.
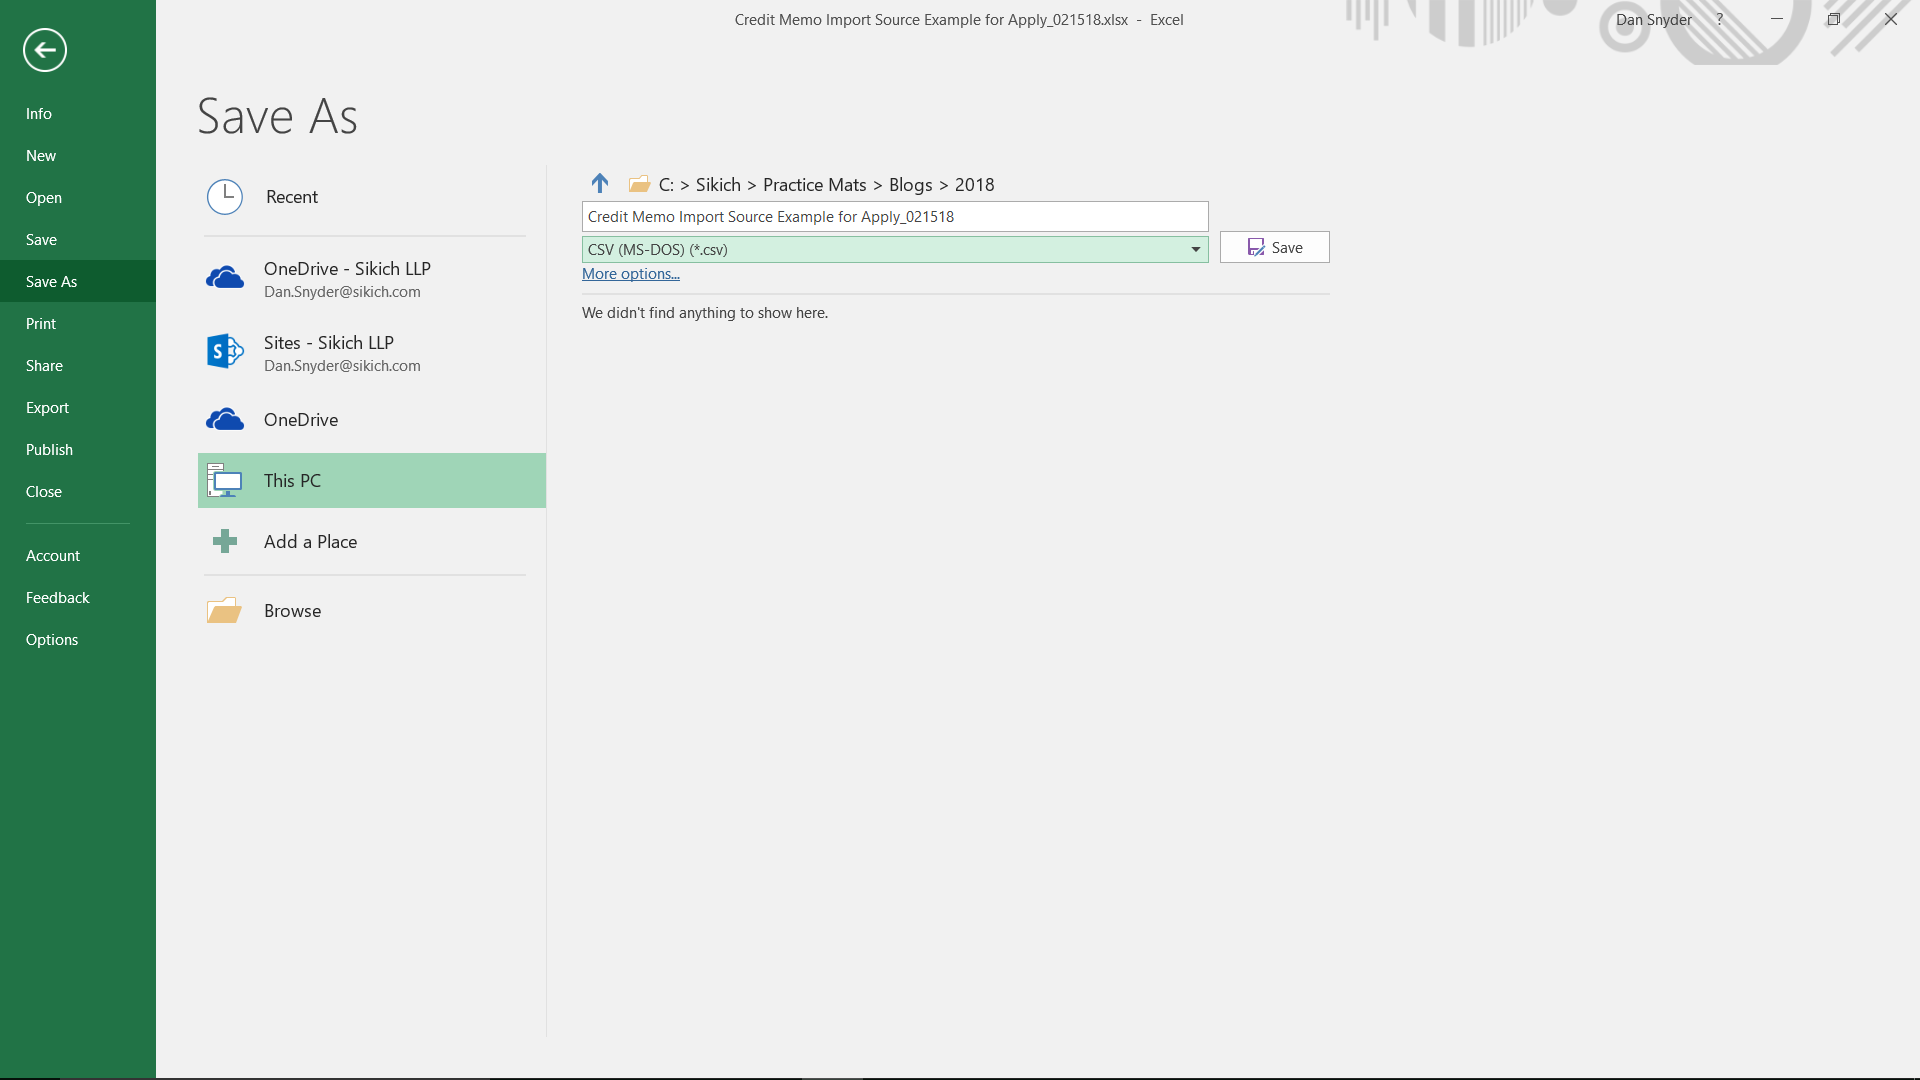
Then save again but this time Save As a .CSV file. Choose CSV (MS-DOS) (.csv).
Source File end result:
Step 3: Build CSV Import
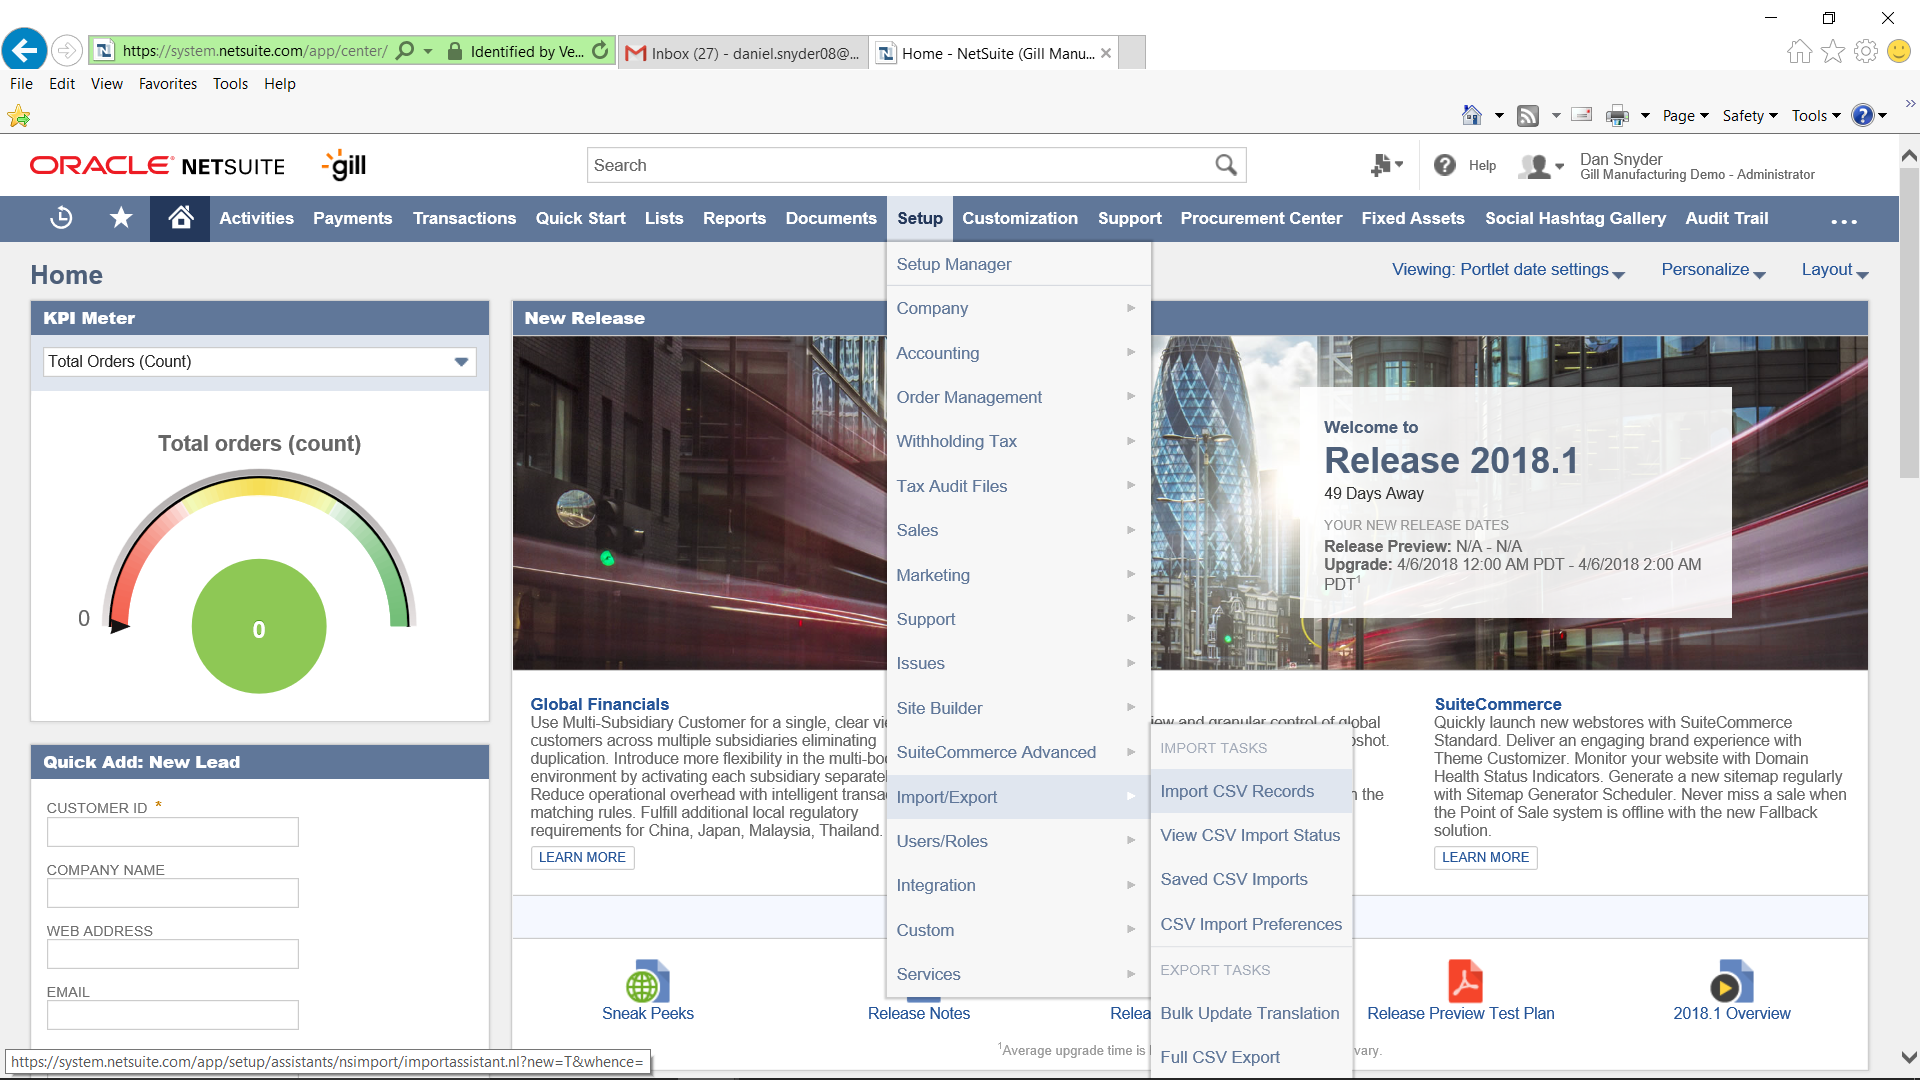
Note: The menu paths illustrated are visible when logged in as an Administrator.
To create the Import, navigate to Setup > Import/Export > Import CSV Records
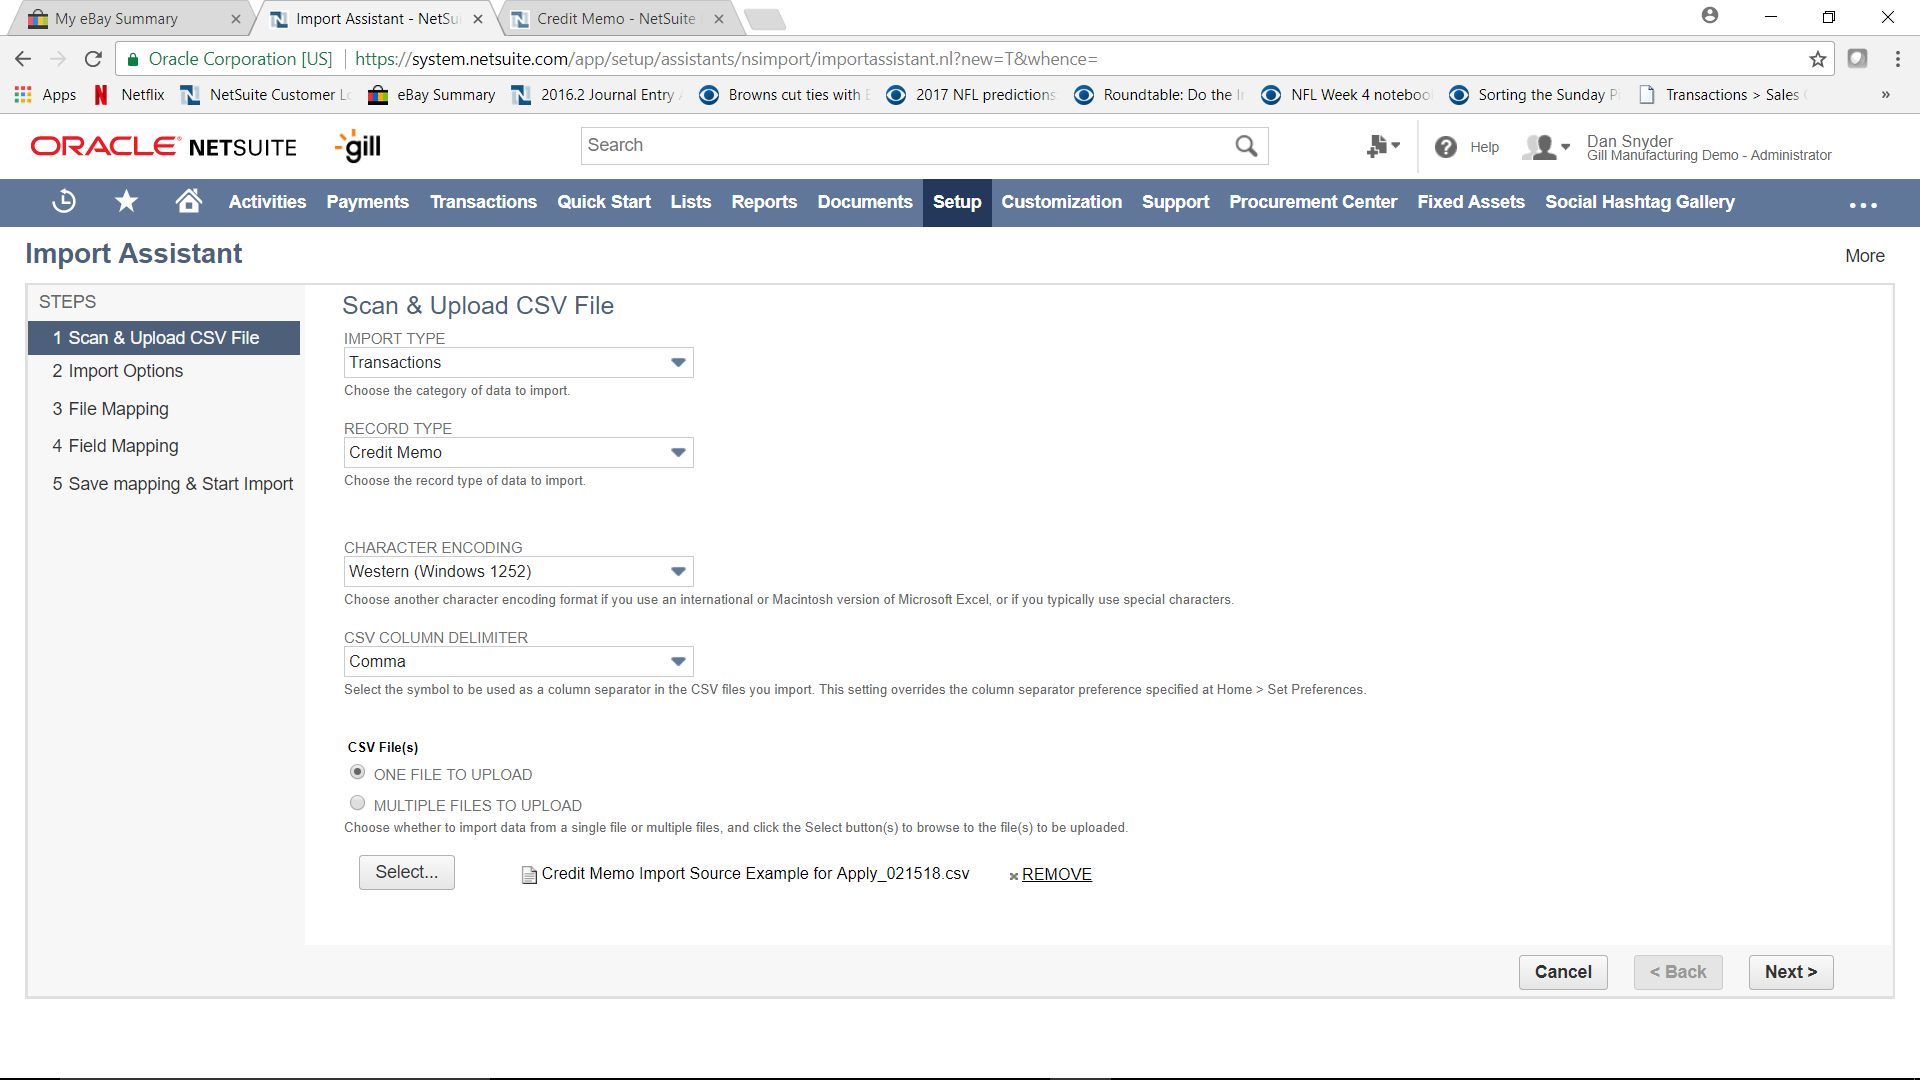
Import Step 1: Scan and Upload CSV File
Select:
- Select Import Type = Transactions
- Record Type = Credit Memo
- Character Encoding: use default value Western (Windows 1252)
- CSV Column Delimiter: use default value Comma
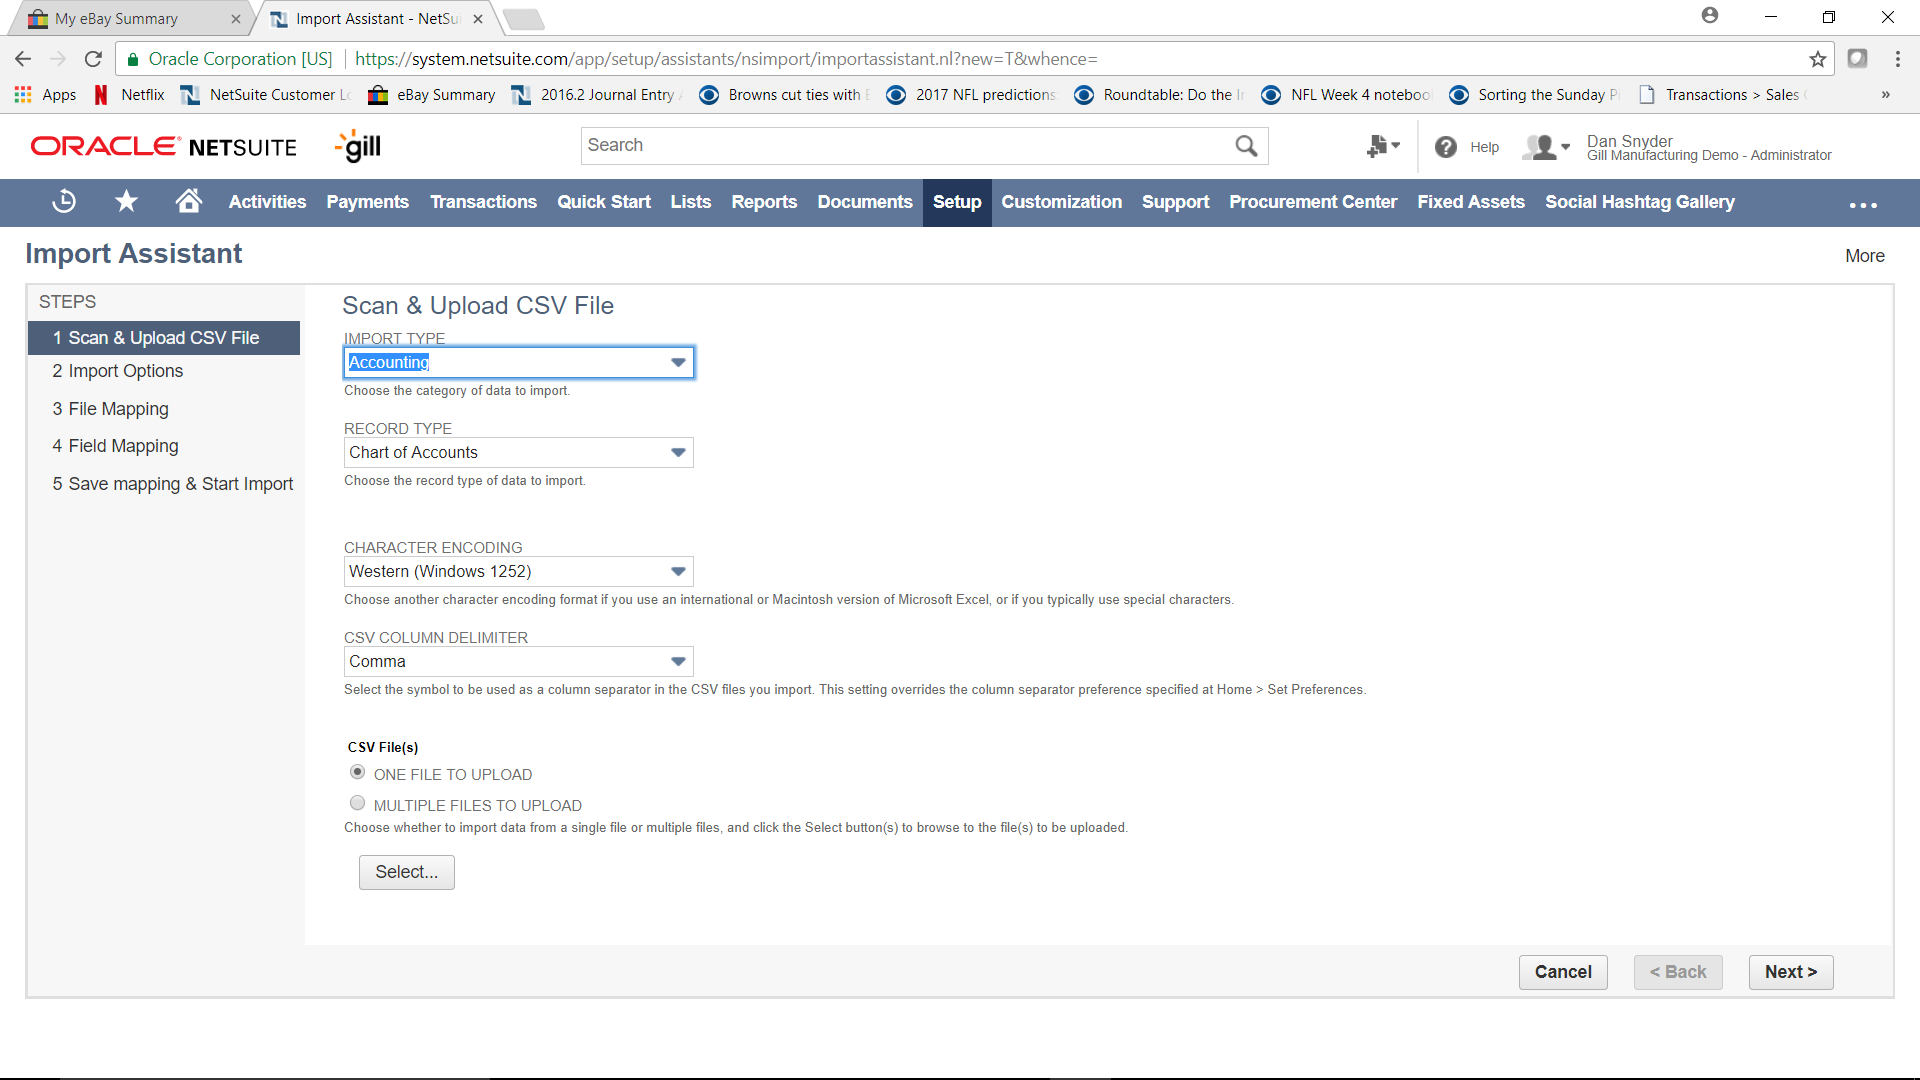
Select One File to Upload and select the .CSV file just created, then click Next.
Import Step 2: Import Options
- Select “Add”, we are adding transactions. Then click Next.
- Note: Ignore Advanced Options. However, a common error is using the wrong Form. The Custom Form can be changed under Advanced Options.

Import Step 4: Field Mapping (NetSuite handles Step 3: File Mapping).
This is where you actually set up the field mapping. We are mapping the fields in the .csv source file to the proper NetSuite field. To build the mapping go row by row. Start with the NetSuite field list on the right, select the NetSuite destination field. The cursor will move to the next row, place it back on the row where you just selected the NetSuite field. Then select the desired source field form the list on the lift, which is the .CSV source file. Repeat until all fields are mapped.
Field Mapping Screen:
The end result will look like this: (*Note the Credit Memo Items and Credit Memo Apply Nodes are used. Also note how the two fields in the Credit Memo Apply Node are mapped. The Credit # field is mapped.)
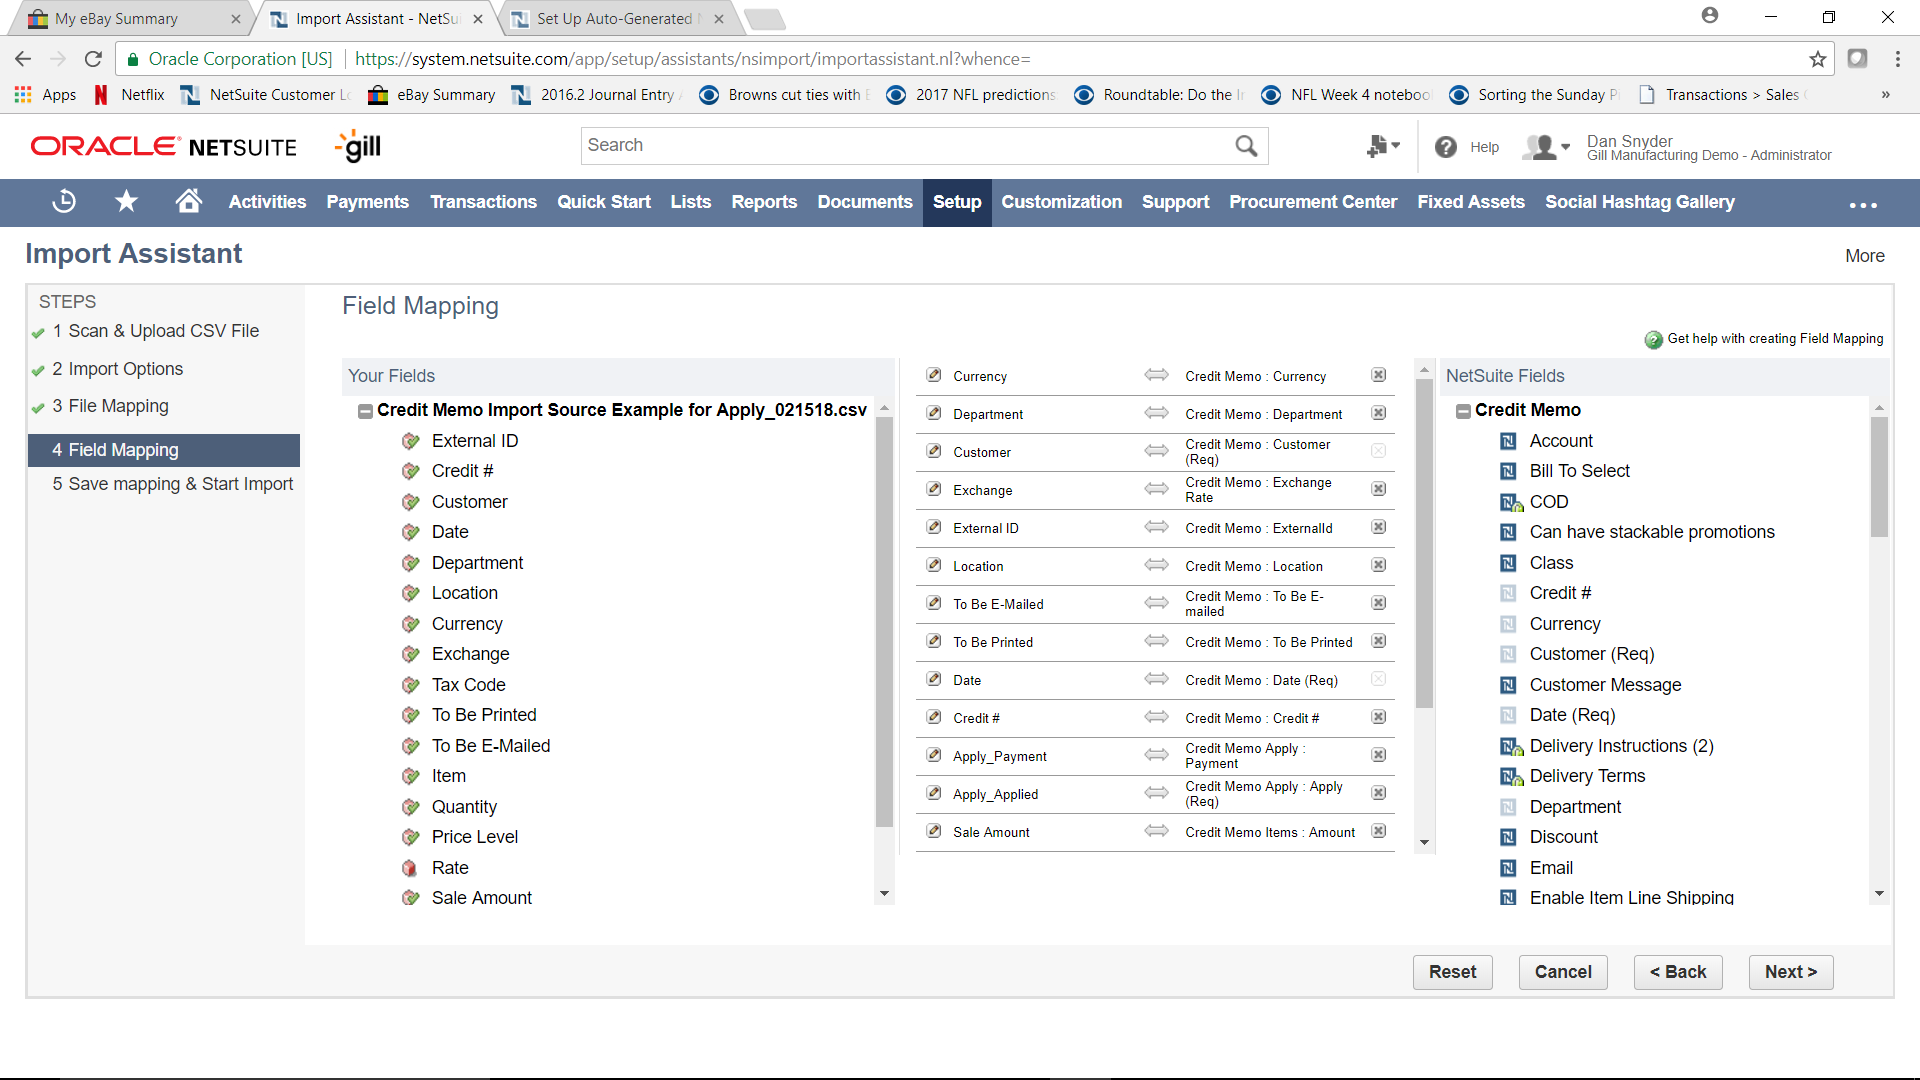
Click Next when finished mapping and go to the last screen in the Import Setup.
Screen 5: Import Assistant
This is where you Save and Run the Import. Future use of this Import will ask you to Save and Overwrite the import. That is normal, Select OK.
Name the Import, select Save & Run.
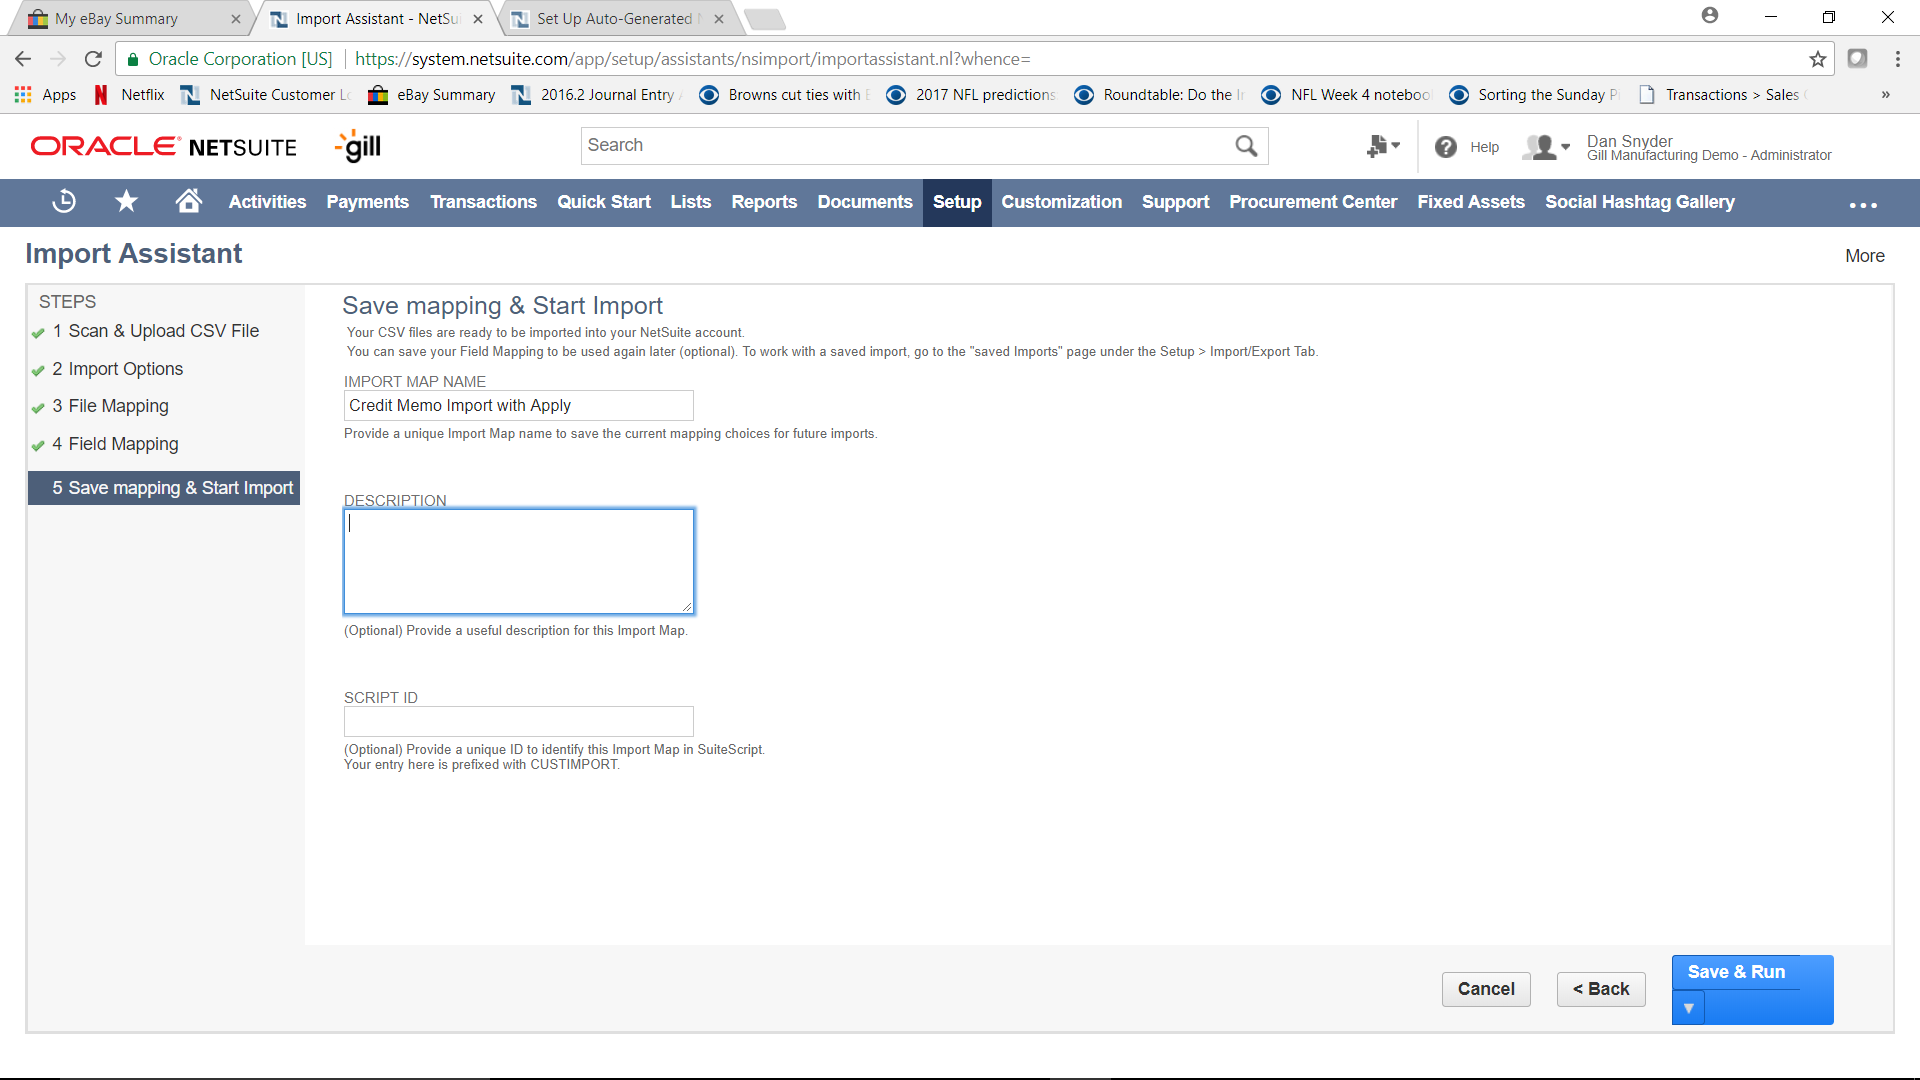
After Saving:
Click the Import Job Status Link to see progress.
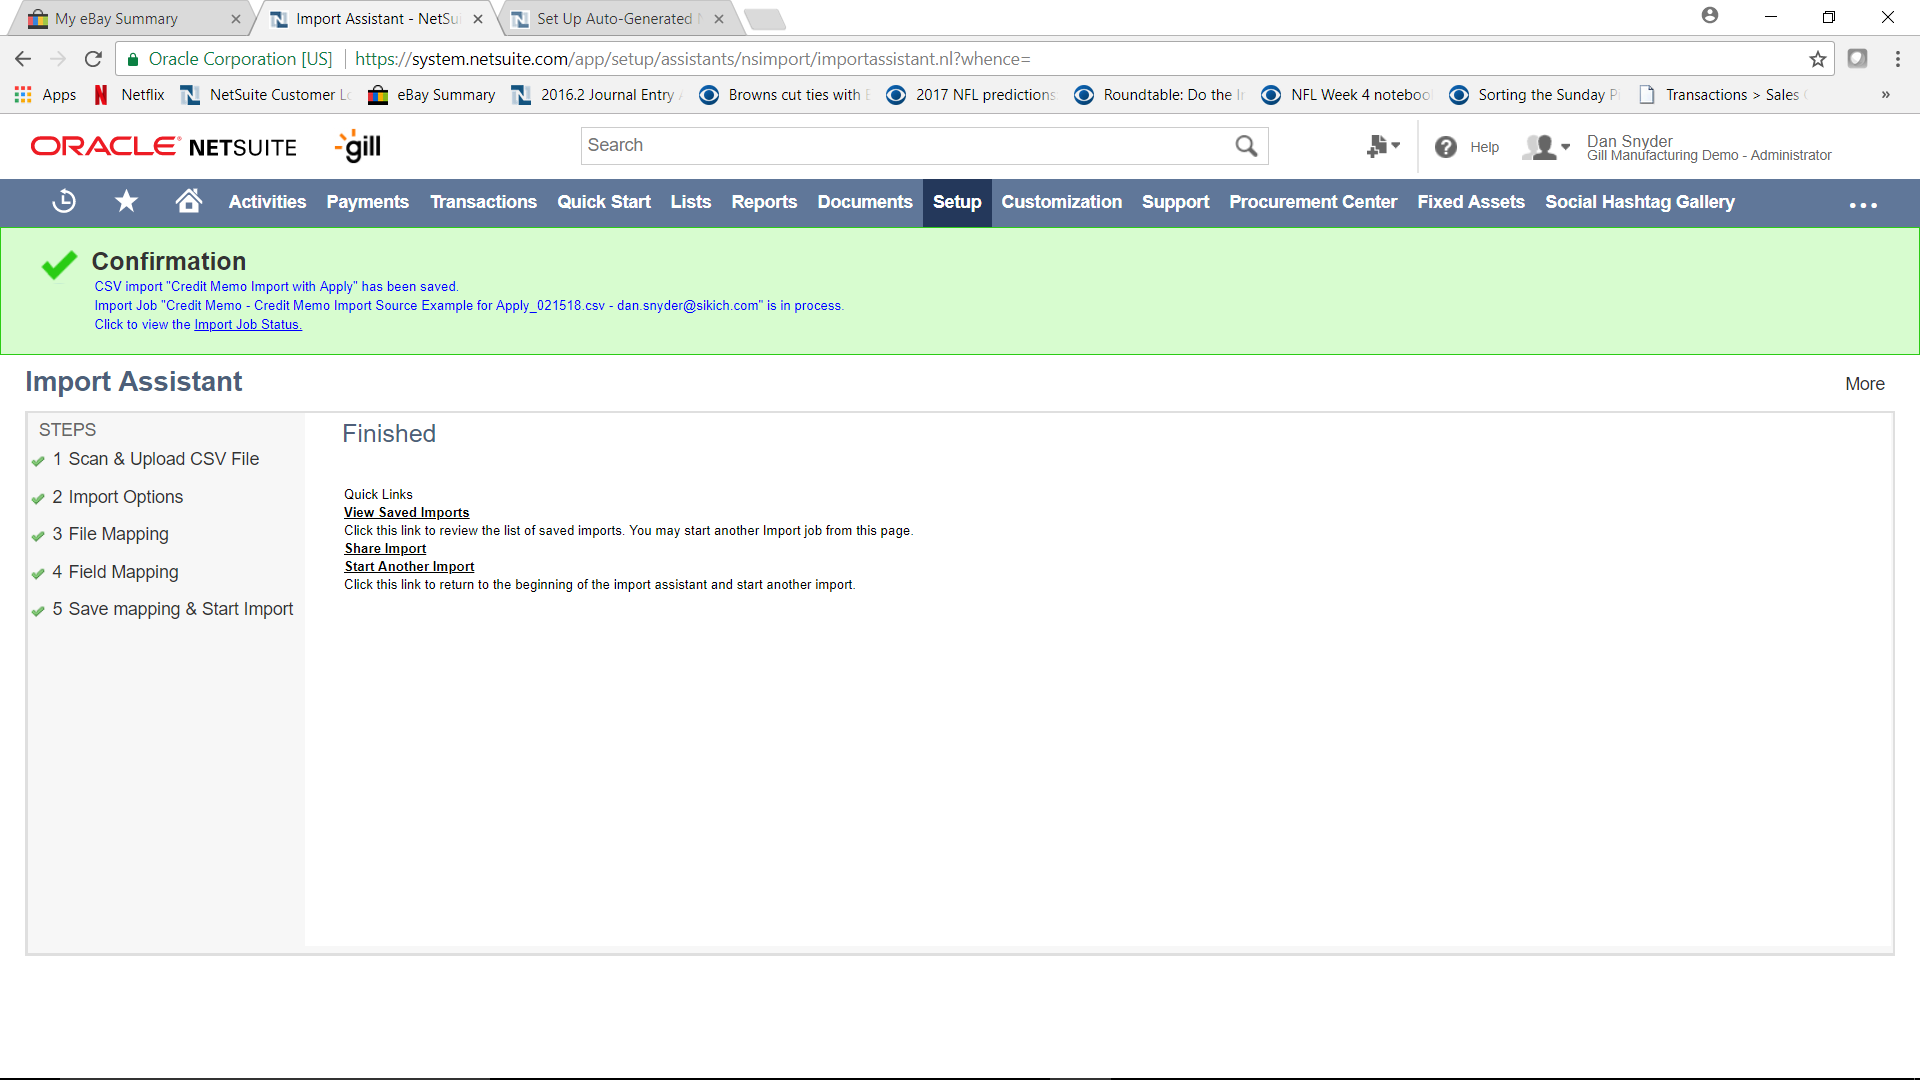
All done!
For more information on NetSuite or how to import a credit memo and apply it to an invoice, contact Keystone today!
![]()
Keystone. Your NetSuite solution provider and integration partner.
Call – 866-546-7227 | Email – info@keystonebusinessservices.net
![Keystone Goes the Extra Mile [Again]](https://www.keystonebusinessservices.net/wp-content/uploads/2018/05/Chase-5K-run-v2-300x225.jpg)


